
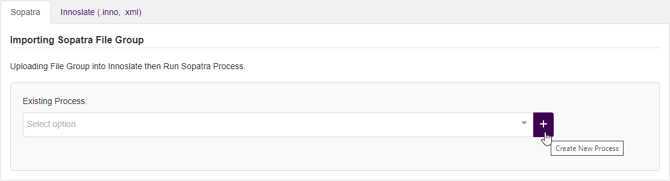
In Import Analyzer, select the ‘Sopatra’ tab.
Click the dropdown to select an existing process.

Select the plus button to start a new process.
Enter a meaningful name for the new process.
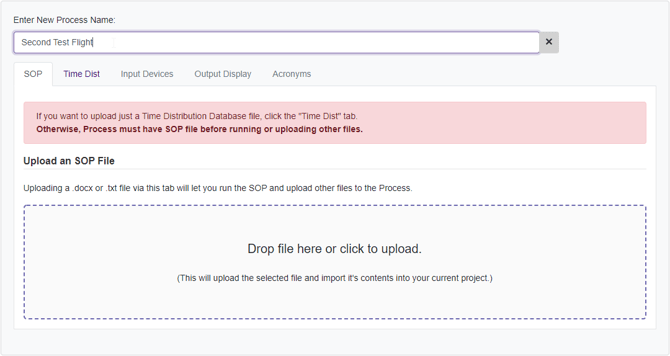
SOP and Time Dist tab will be the only two tabs that can be selected. The other tabs will be available once the SOP is uploaded.
SOP Tab
Drag and drop or click to upload a SOP file (.docx or .txt).

Click ‘Save’ to save the SOP upload or ‘Cancel’ to discard it.

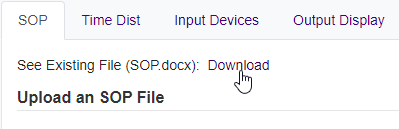
Click on the Download link to download an existing File.
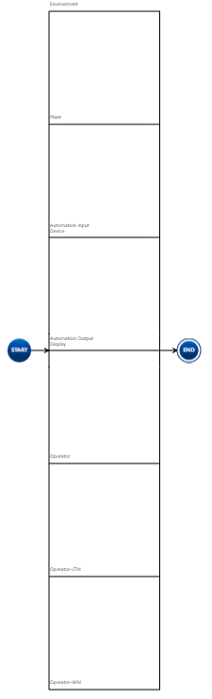
After an upload, two options will appear. ‘User the Default Branch Templates’ and ‘Split Action Diagram Into Parent/Child Diagrams Upon Completion.' ‘User the Default Branch Templates’ will be checked by default and ‘Split Action Diagram Into Parent/Child Diagrams Upon Completion’ will be unchecked by default.

Having ‘User the Default Branch Templates’ checked will result in an Action diagram with these default branches: Environment, Plant, Automation Input Device, Automation Output Display, Operator, Operator-LTM, and Operator-WM.
Having ‘Use the Default Branch Templates’ unchecked will result in an Action Diagram with no default branches.
Having ‘Split Action Diagram Into Parent/Child Diagrams Upon Completion’ unchecked will result in an Action diagram being completely expanded.

Conversely, checking the ‘Split Action Diagram Into Parent/Child Diagrams Upon Completion’ option will result in the Action diagram being decomposed by each ‘stage’.

For more information please see SOP File (.docx or .txt).
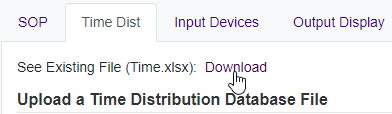
Time Dist Tab (Optional)
Click on the Time Dist tab.
Drag and drop or click to upload a Time Distribution file (.xlsx or .csv).

Click ‘Save’ to save the Time Distribution file upload or ‘Cancel’ to discard it.

After the uploaded and saved a new green button will appear. Click the ‘Load Time Only’ to load the data into the project.

Note: Only need to run ‘Load Time Only’ once per project if the file contains all the Time Distribution. The Time Distribution file will also be loaded when you click ‘Run Sopatra’, if that project does not have any of the entities from a Time Distribution file.
Click on the Download link to download an existing File.
To remove a file once it has been uploaded, click on the delete link next to Remove Existing file.

For more information please see Time Distribution Database File (.xlsx or .csv).
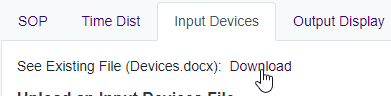
Input Devices Tab (Optional)
Click on the Input Devices tab.
Drag and drop or click to upload an Input Devices file (.docx or .txt).

Click ‘Save’ to save the Time Distribution file upload or ‘Cancel’ to discard it.

Click on the Download link to download an existing File.
To remove a file once it has been uploaded click on the delete link next to Remove Exiting file.
.png?width=259&name=Delete-Upload%20(1).png)
Note: A default list of input devices has been already loaded into Sopatra.
For more information please see Input Devices File (.docx or .txt).
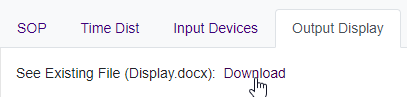
Output Display Tab (Optional)
Click on the Output Display tab.
Drag and drop or click to upload an Output Display file (.docx or .txt).

Click save to save the Output Display file upload or cancel to discard it.

Click on the Download link to download an existing File.
To remove a file once it has been uploaded, click on the delete link next to Remove Exiting file.
.png?width=259&name=Delete-Upload%20(2).png)
For more information please see Output Display File (.docx or .txt).
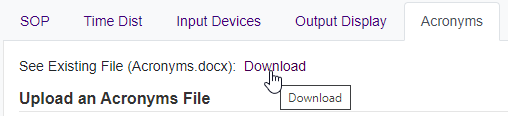
Acronyms Tab (Optional)
Click on the Acronyms tab.
Drag and drop or click to upload an Acronyms file (.docx or .txt).

Click save to save the Acronyms file upload or cancel to discard it.

Click on the Download link to download an existing File.
To remove the file once it has been uploaded, click on the delete link next to Remove Exiting file.
.png?width=259&name=Delete-Upload%20(3).png)
For more information please see Acronyms File (.docx or .txt).
Running Sopatra
Once all the SOP files and any of the optional files have been uploaded to run Sopatra click the purple ‘Run Sopatra’ button. This will generate the process in the form of an Action Diagram and navigate to Diagrams View.

For more information please see Sopatra Diagrams View.
To continue learning about Sopatra Import Analyzer, Click Here.
(Next Article: Importing Innoslate Export (inno, xml) Files)