
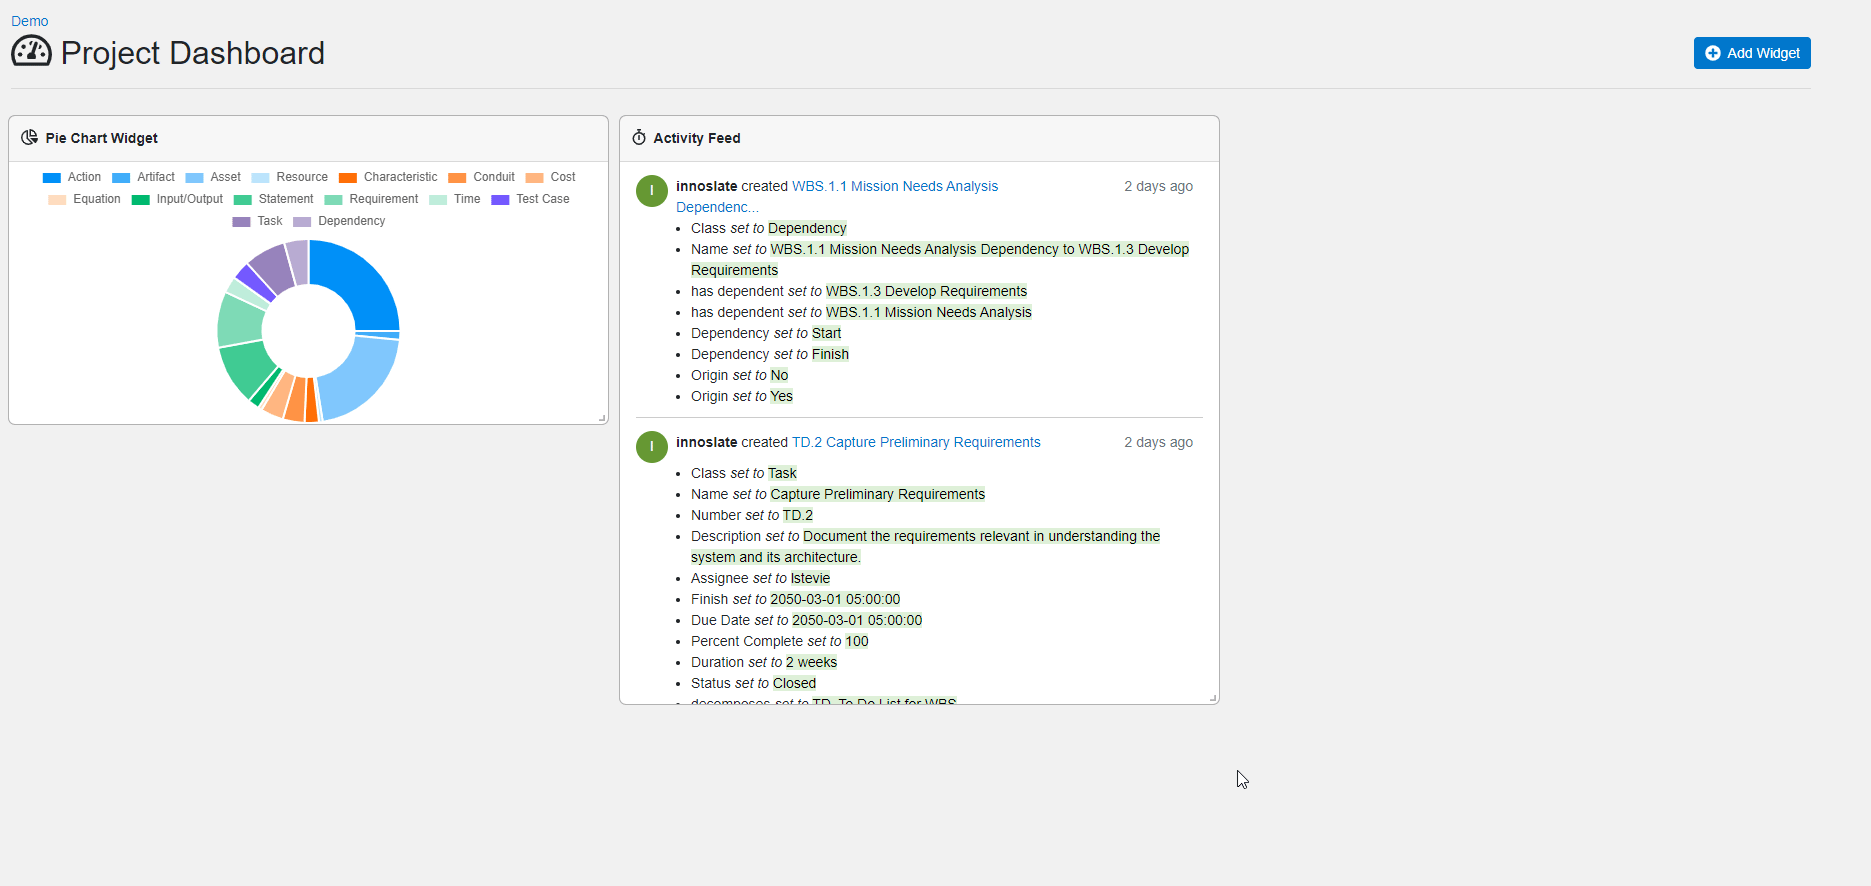
Widgets are the customizable elements that constitute the Innoslate dashboards. Each widget consists of a header and a body. The header showcases the title and icons for interaction, while the body contains the unique content of the widget. In some cases, widgets may also have a footer that includes relevant buttons or textual information.
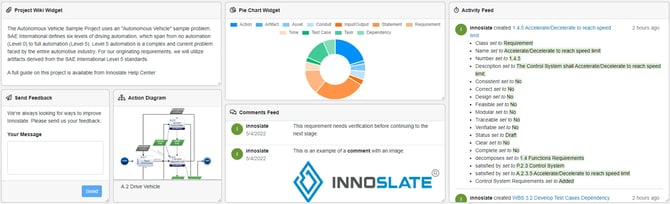
There are two basic categories of Innoslate widgets: static and non-static.
Static
Static widgets cannot be moved, deleted, resized, or have their settings edited. These widgets typically exist when either:
- The dashboard itself is static (and thus its layout cannot be modified), like the widgets on the Admin Dashboard
- The widget is locked by the user
- The widget belongs to project preferences that a user does not have permission to edit
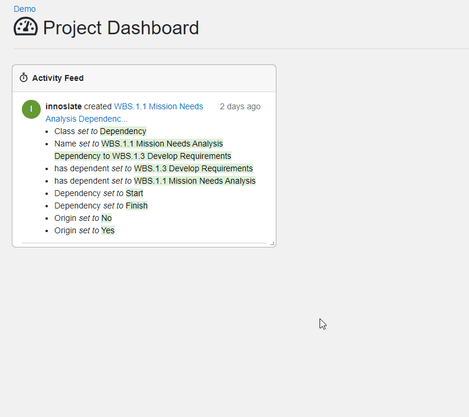
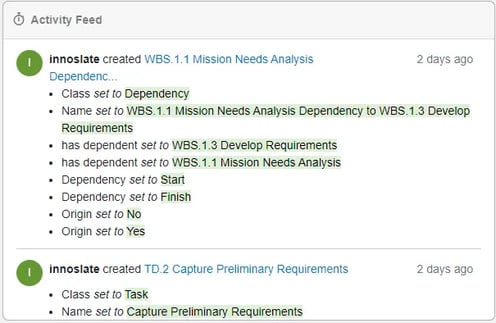
A static widget provides the same information as a non-static widget, but it cannot be modified or moved on the dashboard. If the widget has reports available for download, they will appear when a user hovers their mouse over the appropriate spot, usually the top right corner of the header. This applies to both static and non-static widgets.
Non-Static
Non-static widgets offer a great deal of flexibility as they can be easily moved, deleted, resized, and edited as needed. This category encompasses the majority of widgets available in Innoslate.
Adding Widgets
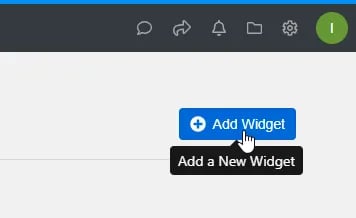
Select the 'Add Widget' button in the top right corner of the corresponding Dashboard.
Note: If the button is disabled, it means that the dashboard is already filled with all the available widgets, and no more can be added.
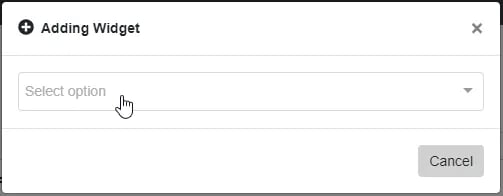
From the ‘Adding Widget’ pop up, click the dropdown to choose a widget to add.
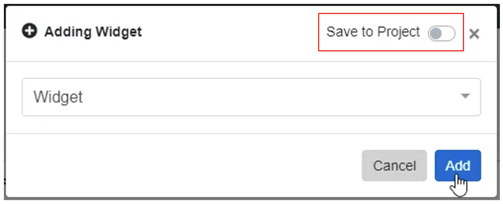
If applicable to the selected widget, users can customize it by changing the available settings beneath the dropdown. The “Save to Project” feature allows users to save the widget to the project. This will allow everyone whom is shared with on the project to view the same widget in their dashboard. Once desired settings are selected, click the ‘Add’ button to add the widget to the current dashboard.
Moving Widgets
To move a widget, hover the mouse over the header of a non-static widget, click, and drag the widget to the desired location on the dashboard. When using a touch device, hold and drag on the widget header and slowly drag the widget to its new position.
Resizing Widgets
To resize a widget, hover the mouse over the bottom right corner of the non-static widget. There will be a small arrow pointing to the bottom right corner. Click the arrow and, while holding down the mouse, drag the widget to the desired width and height. Resizing widgets works in both directions, however the widgets are limited when minimizing.
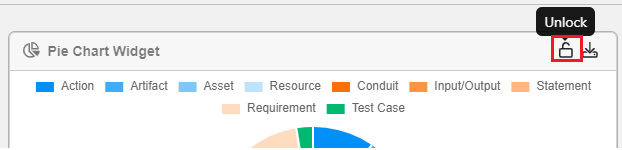
Locking/Unlocking Widgets
If the widget is sized and at a preferred location on the dashboard, users can lock it into place by hovering over the top right corner of the widget and clicking the 'Lock' icon.

This makes the widget static, disabling its ability to be moved, deleted, and resized.
To unlock the widget, hover over the top right corner of the widget and select the 'Unlock' icon.
Removing Widgets
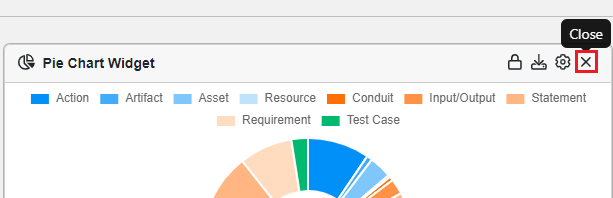
To remove a widget from a dashboard, hover the mouse over the top right corner of the widget and click on the ‘X’ (close) button.
Editing Widgets
If a widget has editable settings, there will be a gear icon in the top right corner when hovering over the widget header. Click this icon to open the editable settings modal. Each widget has its own form to edit its settings. Check out the specific widget’s page in this user guide to learn more about how to customize that specific widget's settings.

Downloading Reports
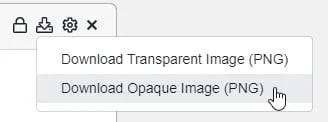
Some widgets have individual reports or images that can be downloaded directly from the widget. To do this, hover over the top right corner of the widget header and click the ‘ Download Reports’ button. A dropdown menu will appear to select the desired download.
Saving Widget Changes
Changes made to dashboards (i.e. adding/removing/resizing widgets, etc.) are automatically saved upon routing away from the dashboard. Widgets will not be autosaved if the page is refreshed or a user gets signed out of Innoslate without navigating out of dashboard. Be sure to save your dashboard changes, before navigating to a different view.
It is highly suggested to use the 'Save Dashboard Layout' button, which appears whenever a change is made on a Dashboard.

Touch Support
Much of the functionality in this ‘Widgets’ guide involves hovering a cursor over the header before selecting one of the features. For touchscreen users, simply tap the header to reveal the header buttons. From there follow the same steps to interact with the widget and its header buttons.
Tutorial Video
To continue learning about Widgets Outline, Click Here.
(Next Article: General Widgets)