
| Navigating to Test Center | How to Navigate to the Test Center. |
| Adding Widgets to the Test Center Dashboard | How to add widgets to the Test Center Dashboard. |
| All Existing Test Suite Widget | Overview of the All Existing Test Suite Widget. |
| Modifying a Test Card from the All Existing Test Suite Widget | Modifying from the All Existing Test Suite Widget. |
| Create a Test Suite | How to create a Test Suite. |
Test Center is a powerful tool that has been specifically developed to assist Innoslate users in effectively managing their Test Cases. With Test Center, users can easily capture test cases and trace their connection to requirements. It offers a user-friendly view for managing all your test cases in one place.
In Test Center, users must be aware there are two key components of Test Center: Test Suite and Test Case. Test Suites in Innoslate are similar to documents and serve as containers for Test Cases. They are the main focus of management on the Test Center Dashboard.
Navigating to Test Center
From anywhere within a specific project in Innoslate, you can access ‘Test Center’ by clicking the ‘MENU’ drop-down on the top left of the navigation bar and selecting ‘Test Center’ under the ‘General’ heading.
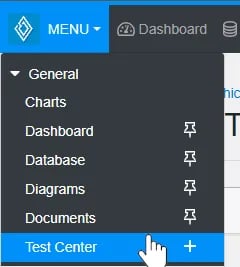
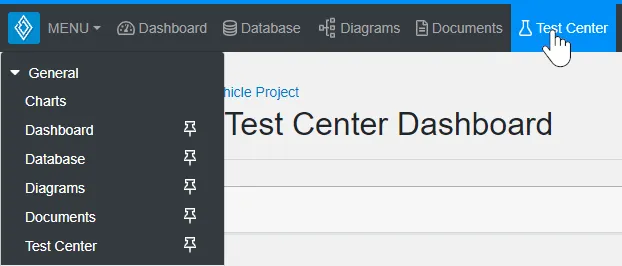
For quicker access, you also have the option to pin the ‘Test Center’ link to your top navigation bar, by clicking the + button next to the ‘Test Center’ link in the ‘MENU’ drop-down.

Adding Widgets to the Test Center Dashboard
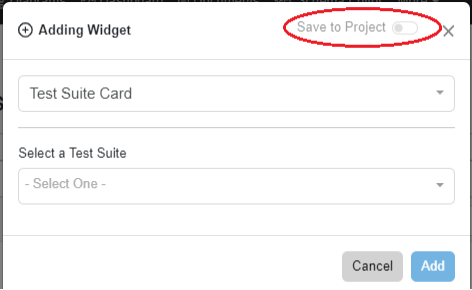
Innoslate users can modify their Dashboard and organize it by the ‘Add Widget’ button on the Test Center Dashboard.

A pop up appears allowing users to select from two options:
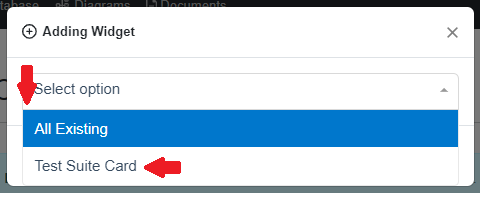
- The 'All Existing' widget contains all existing Test Suites in an Innoslate project.
- The 'Test Suite Card' widget allows users to easily access an individual Test Suite.
After selecting a widget, take note of the 'Save to project' toggle. When enabled, all users who have access to the project will be able to view the widget on their Test Center Dashboard.
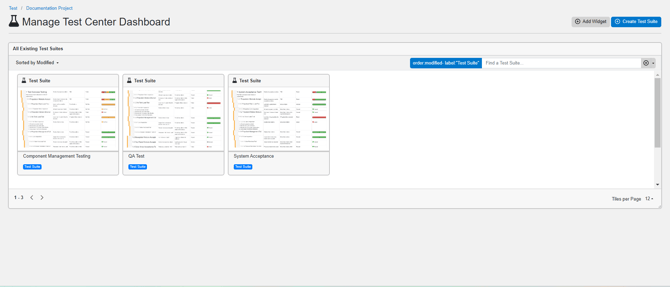
All Existing Test Suites Widget

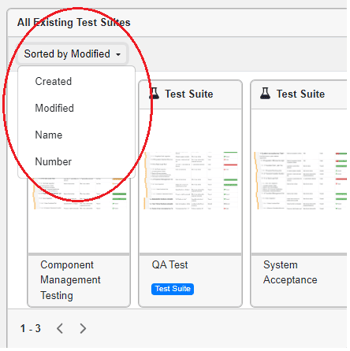
The 'All Existing Test Suites' widget is where users can conveniently access all of the Test Suites in their Innoslate project. Innoslate users have a variety of options available to them for filtering, sorting, searching, and interacting with Test Suites within this widget.
When users hover their mouse over the top right of the heading bar a 'Lock' appears so that this widget remains in place on their Test Center Dashboard. Users can also remove this widget from their Dashboard by clicking the 'Close (X)'button.

Sort and Search the All Existing Test Suite Widget
Users may sort the documents by most recently created date, most recently modified date, name or number:
Users may also use the 'Advanced Search Editor' or the 'Search Field' to query and find a specific document:

When a user clicks on the 'Advanced Search Editor' a pop up will appear:

The 'Advanced Search Editor' will reflect the previous sort options discussed from the upper left side of the 'All Existing Test Suites' Widget. It also provides users the ability to add on and build their query in the pop-up window. Users can choose from a variety of ordering and sorting options, such as ascending or descending, and utilize additional options to effectively search for documents.

The 'Search Field' allows users to type in their query for a specific type of Test Suite or clear their query with the dropdown option provided on the right of the magnifying glass.

Users can also easily browse through their Test Suites by paging on the lower left corner and select the number of documents they prefer to display in this widget with the 'Tiles per Page' dropdown on the lower right hand.

Additionally, users may save their layouts on their Test Center Dashboard. When a change is made on the dashboard, the 'Save Dashboard Layout' option will appear:

Modifying Test Suites from a Test Suite Card in the All Existing Documents Widget

- Edit Entity

Clicking on the 'Edit Entity' icon will open a pop-up that enables users to modify the root entity of the Test Suite, known as the Artifact entity. This feature allows users to edit fields such as the Artifact's name, number, description, and labels.
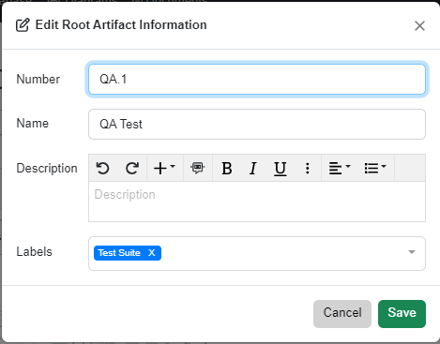
⚠️The 'Test Suite' label is imperative in order for the Test Suite to appear on the Test Center Dashboard. It is highly encouraged to not omit this label.
- Refresh Image

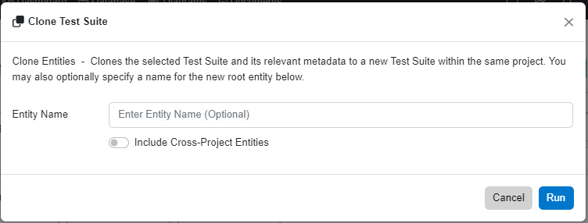
- Clone Test Suite

- Delete

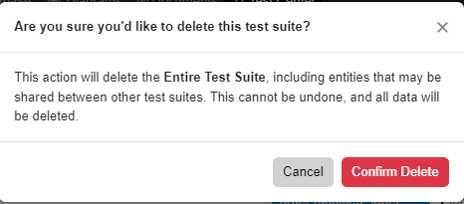
Users have the option to delete a Test Suite and its contents by clicking on the 'Delete Test Suite' icon.
A confirmation will appear to ensure that the user understands that deleting the Test Suite and its Test Cases is irreversible.
- Reports
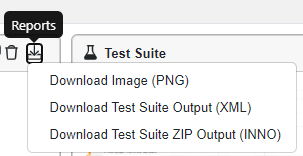
Innoslate users can export a PNG of the Test Suite thumbnail image or an XML or INNO of the whole Test Suite from the 'Reports' button of a Test Suite Card on the All Existing Test Suites Widget.
For information on the Test Suite Card Widget, please go here.
Creating a Test Suite
- Within ‘Test Center,’ users can create a new Test Suite by clicking the ‘+ Create Test Suite’ button on the right of the page.

Clicking the ‘+ Create Test Suite’ button will open the New Test Suite dialog.
- You will be prompted to input a Test Suite ‘Name,’ ‘Number’ (optional), and ‘Description’ (optional). Then, click the ‘Create’ button.

Tutorial Video
To continue learning about Test Center Dashboard, Click Here.
(Next Article: Test Center Reports)