
| Customizing the Risk Diagram | Review of the customizing options for the Risk Diagram. |
| Risk Diagram Settings | Overview of the Risk Diagram's Settings Menu. |
| Managing Multiple Risks | How to edit many Risks in a single Risk Block. |
Customization

In Innoslate, you can customize a ‘Risk Diagram’ by clicking the ‘Edit Risk Matrix’ button on the toolbar, to change the dimensions of your diagram as needed.
Customize Matrix Dimensions

- Click the ‘Save’ button located on the toolbar to persist your changes to your diagram's canvas.
Customize Risk Classifications

If you would like to define custom ‘Risk’ types, this can be done by clicking one of the ‘Risk’ type blocks and editing its name in the left sidebar.

- On the top of the toolbar frame, users may also:
 Bold the name
 Italicize the name
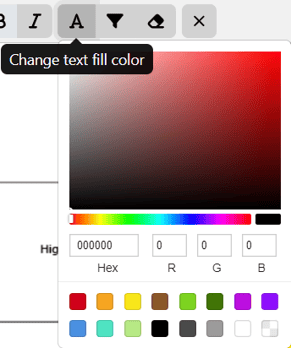
- Change the text color with the HTML Color Menu. The color can be changed with the color scale above (or below) the Hex, R, G, B fields or input the proper codes and numbers to the Hex, R, G, B fields.
 Change the fill color of the block with the HTML Color Menu.
 Reset the color back to the defaulted black and white colors.
 Users may then use the Deselect option to change the focus outside of the selcted block.
Apply Custom Risk Colors

If you would like to apply custom colors to your matrix, this can be done by clicking one of the colored ‘Risk’ blocks, and then clicking the ‘Change fill color’ button and selecting the color of choice. If you would like to reset the colors back to the defaulted color, you can do that by clicking on the ‘Reset color back to default’ button. Then use the Deselect option to change the focus back to the whole diagram.
Note, if there is a risk on the block you are editing, the left sidebar allows users to edit the Risk Entities on it. There is a 4th tab in this view to focus back to the Risk Block as a whole here.

Apply Label Filtering

To filter ‘Risks’ via their label, simply select which labels you would like to filter by.
Change Matrix Settings
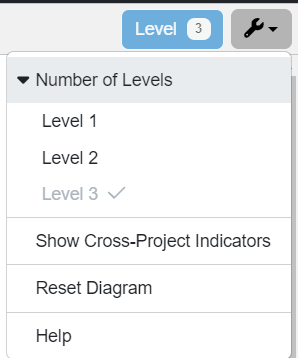
- To change the number of levels, click on the wrench button in the top-right corner of the page, then expand the level options, and click on the level of choice.
- Users may show/hide Cross-Project Idnicators for Risks from other Innoslate projects.
- To reset the diagram to bring it all back to its default state, click on the ‘Reset Diagram’ button.
- The Help option allows users to open up to this page in the Help CEnter for any assistance they may need.
Risk Diagram Sidebar
The Risk diagram utilizes the left sidebar when a block contains a large number of risks that cannot be displayed individually. Instead of showing each risk, a number is displayed to indicate the total number of risks within that block. This feature is activated when the block has 10 or more risks.

- Click the Risk Matrix block and view a list of the Risk entities on the left-hand side.

3. Click on the pencil icon to make changes to a particular 'Risk' entity.
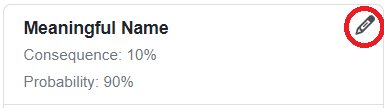
4. Users will find 4 tabs for that particular Risk and Risk Block (to go to other Risks)

To continue learning about General Diagrams, Click Here.
(Next Article: Timeline Diagram)