
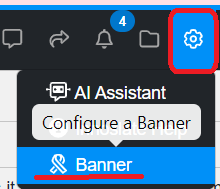
1. In the navigation bar of any project page in Innoslate, select the gear icon, then select ‘Banner’ from the dropdown menu.
2. The Banner window will appear. Select the template option you would like displayed from the dropdown menu. 
The banner template dropdown provides defaulted templates and a custom option.

3. After selecting the template, click the ‘Show Advanced’ button to modify banner settings. Note, the custom template will automatically show these advanced settings.

4. Select the eye icon on each banner you would like to have displayed throughout your Innoslate project.

When the banner is displayed, you can click on the icon, which will appear as a crossed-out eye, to remove the banners.

5. With the eye icon toggled on, you can change the text by clicking in the text box and typing. You can also change the text size by clicking in the text size box and typing.
Once you are done customizing the banner(s), click ‘Save’ to apply the settings.

To continue learning about Managing Projects, Click Here.
(Next Article: Search and Filter)