
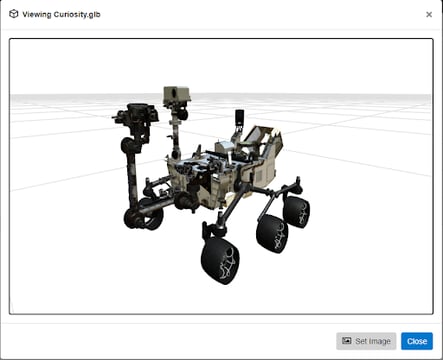
Innoslate has the ability to display CAD files where the view of the models can be rotated and zoomed, and an image of the CAD model can be captured and saved as the entity image.
Navigating to the CAD Viewer
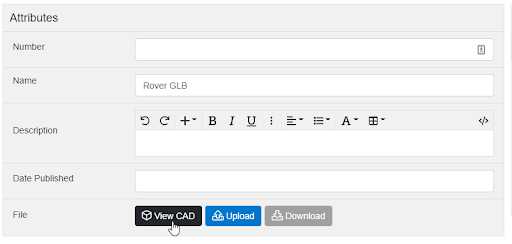
From Entity View
After uploading a supported CAD file to an artifact entity, the CAD viewer should automatically start up. If not, click the ‘View CAD’ button. The supported CAD file extensions are .obj, .stl, .glb, .glTF, .3ds, .ply, and .zip files that contain both an .obj file and its .mtl file. Note, the zipped file name must have 'CAD' in the file name and to successfully import.
Setting Entity Image
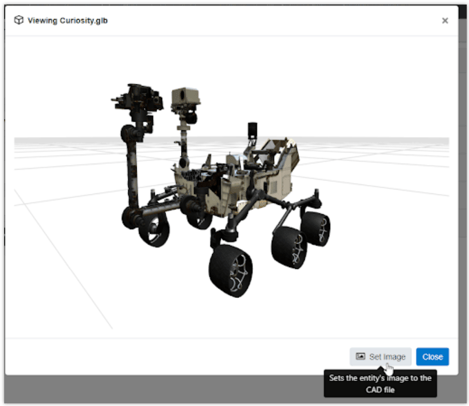
Position the model and click ‘Set Image’ to take a snapshot of the CAD model and set that snapshot as the entity image.
Showing CAD Labels
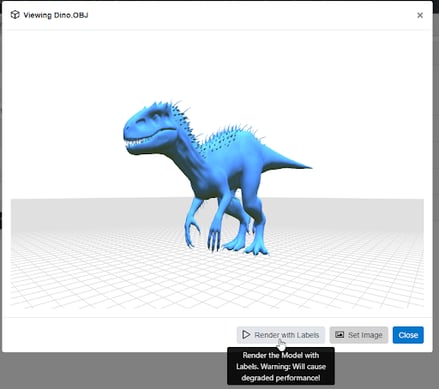
If the CAD file uploaded is either .obj or .3ds, an option will show to render the model with labels. To do this, click ‘Render with Labels’. Hovering over different parts of the model will display that part’s label. Be aware that this method in some cases is significantly slower than the default rendering option.
Creating Assets Hierarchy
After clicking ‘Render with Labels’, an option appears to create an asset hierarchy by clicking ‘Create Assets’. Each of the labels are converted into Asset entities and are displayed in a Hierarchy Chart.

Through clicking the "Create Assets", the system creates a hierarchy diagram that replicates the asset.

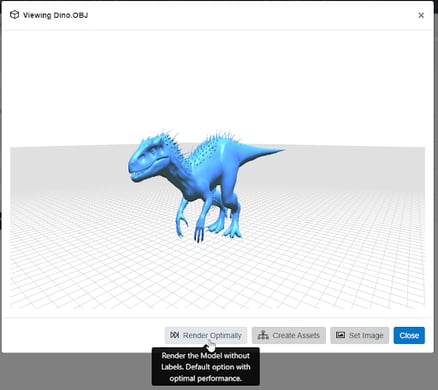
Switching Back to Faster Rendering without Labels
To switch back to the faster rendering without labels, click ‘Render Optimally’.
Tutorial Video
To continue learning about Entity View, Click Here.
(Next Article: File Metadata Viewer)