Follow these steps to update your Innoslate Enterprise instance.
To update an Innoslate Enterprise installation, the user updating must be an Administrator to the machine Innoslate is installed on. Users will also need the updater.exe file. The most current version of the updater can be downloaded here.
⚠️If skipping versions to update and you are updating from 4.5 to 4.8.1.1, please contact Support as there are some additional steps to make prior to updating.
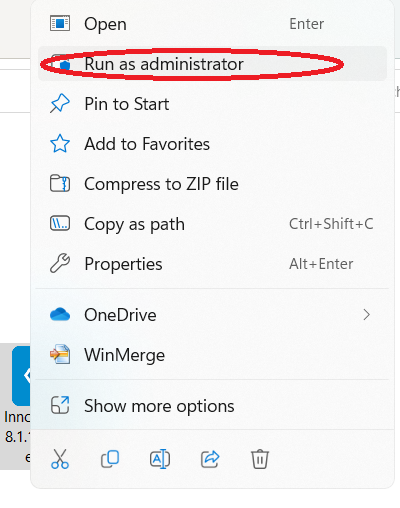
1. Once the updater downloads be sure to open the .exe file as an administrator.
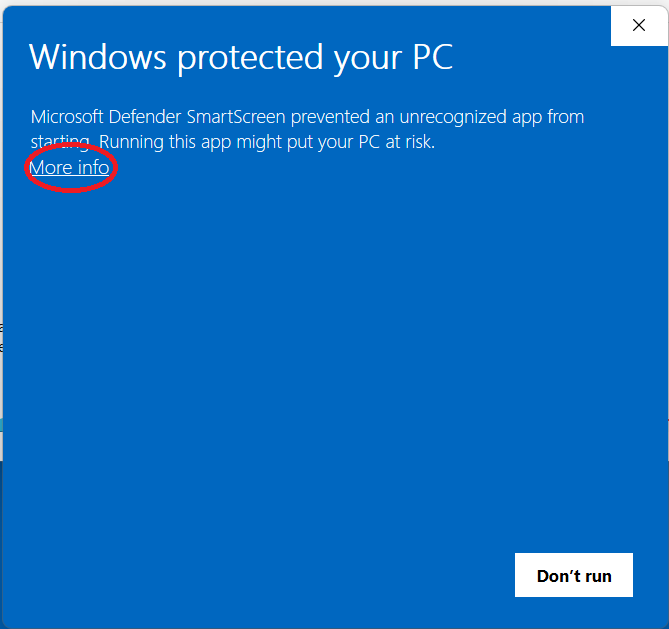
2. Microsoft Windows Defender SmartScreen may prevent it from running. Click on 'More Info.'
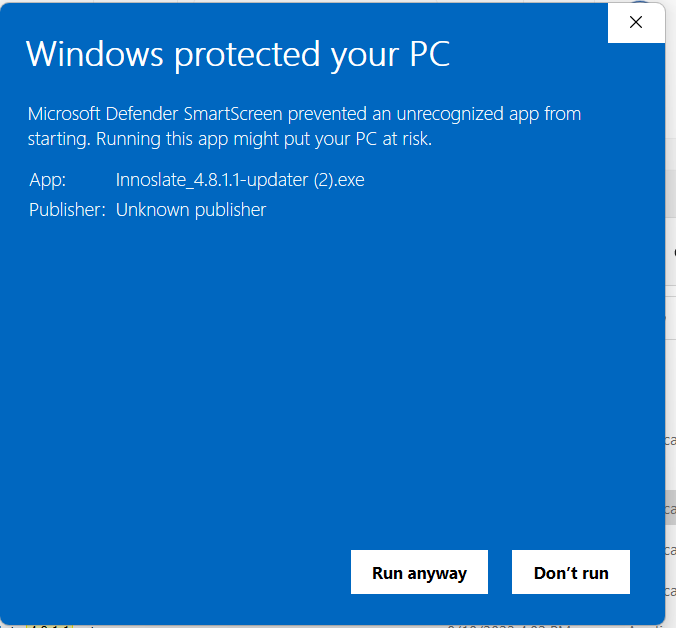
3. The pop up will change . Click 'Run anyway.'
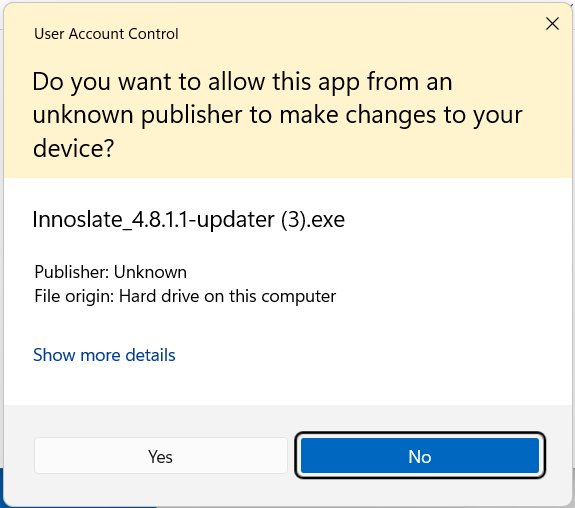
4. Windows User Account Control may pop up. If so, click 'Yes."
5. The Innoslate updater will start with a welcome page. Click 'Next' to continue.
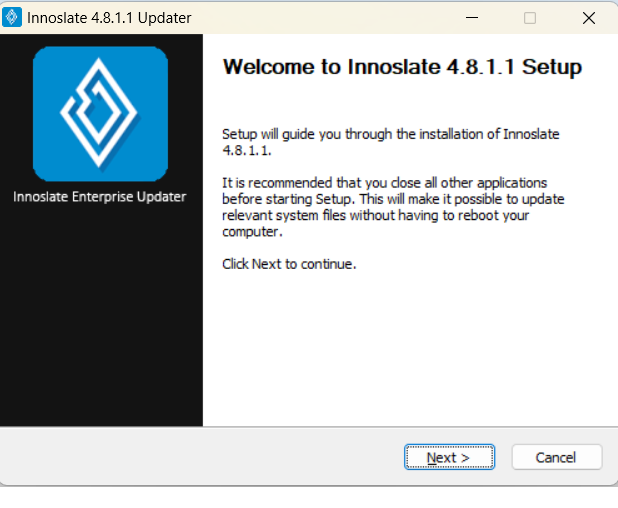
6. Next, read and agree to the license agreement.
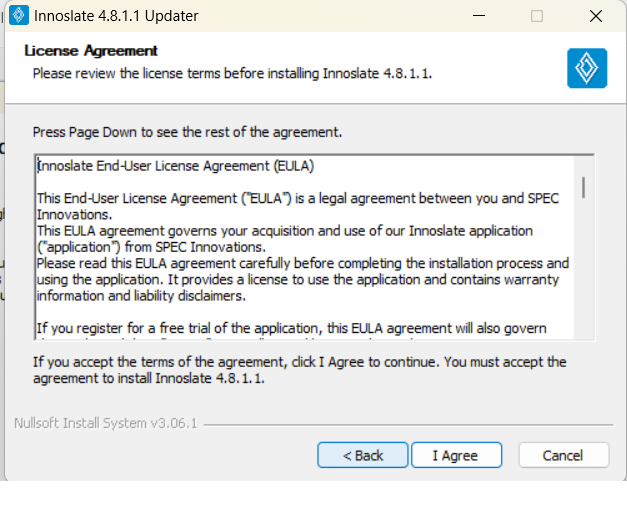
7. Next, locate where to place the installer on the machine under 'Destination Folder'. And click 'Install' to start the install process.
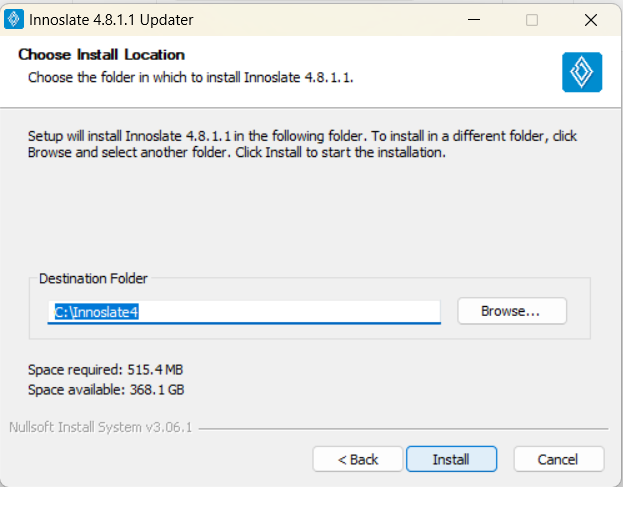
8. The updater will then install.
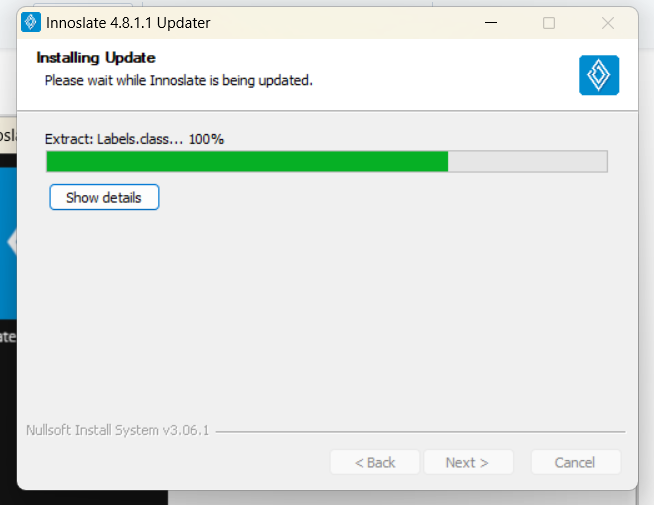
9. Then the Updater will pop up to confirm installation is complete.
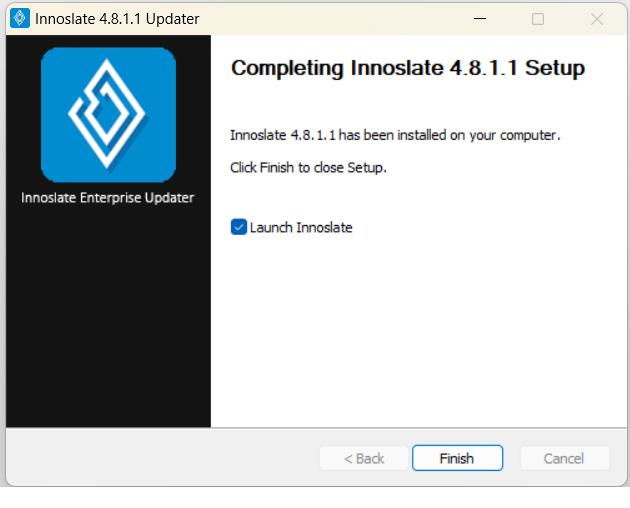
10. If the 'Launch Innoslate' is checked in the picture above, the Updater will then open the browser page to login to Innoslate. The login page is where users can see what version they're running. This is a way to confirm the version has updated. The version number will be on the very bottom right, as indicated with the red circle in the image below.
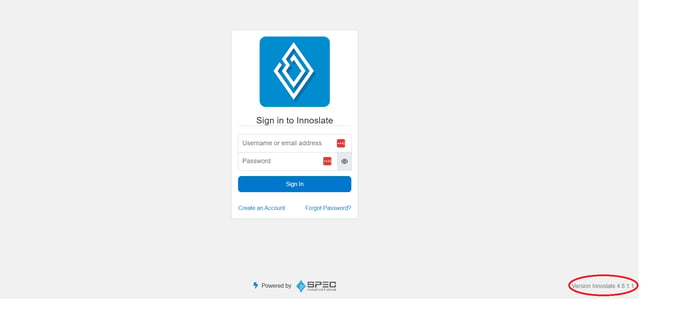
Next, a super admin (the user(s) whose username(s) is in the ADMINS attribute in the settings properties file) will need to log in to Innoslate and navigate to the Admin panel to update the individual organization with the new date within Innoslate.
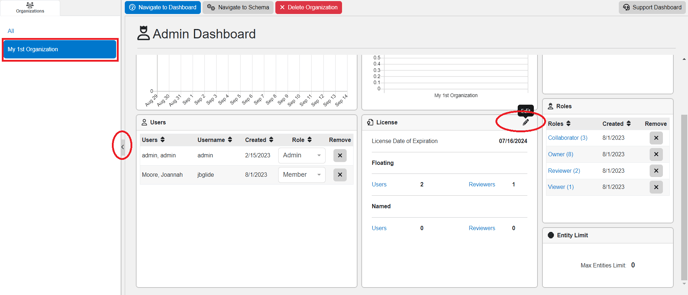
⚠️Ensure that the left sidebar is expanded so that you can easily view your organizations. Click on the '<' symbol circled above to expand or collapse the left sidebar as needed.
